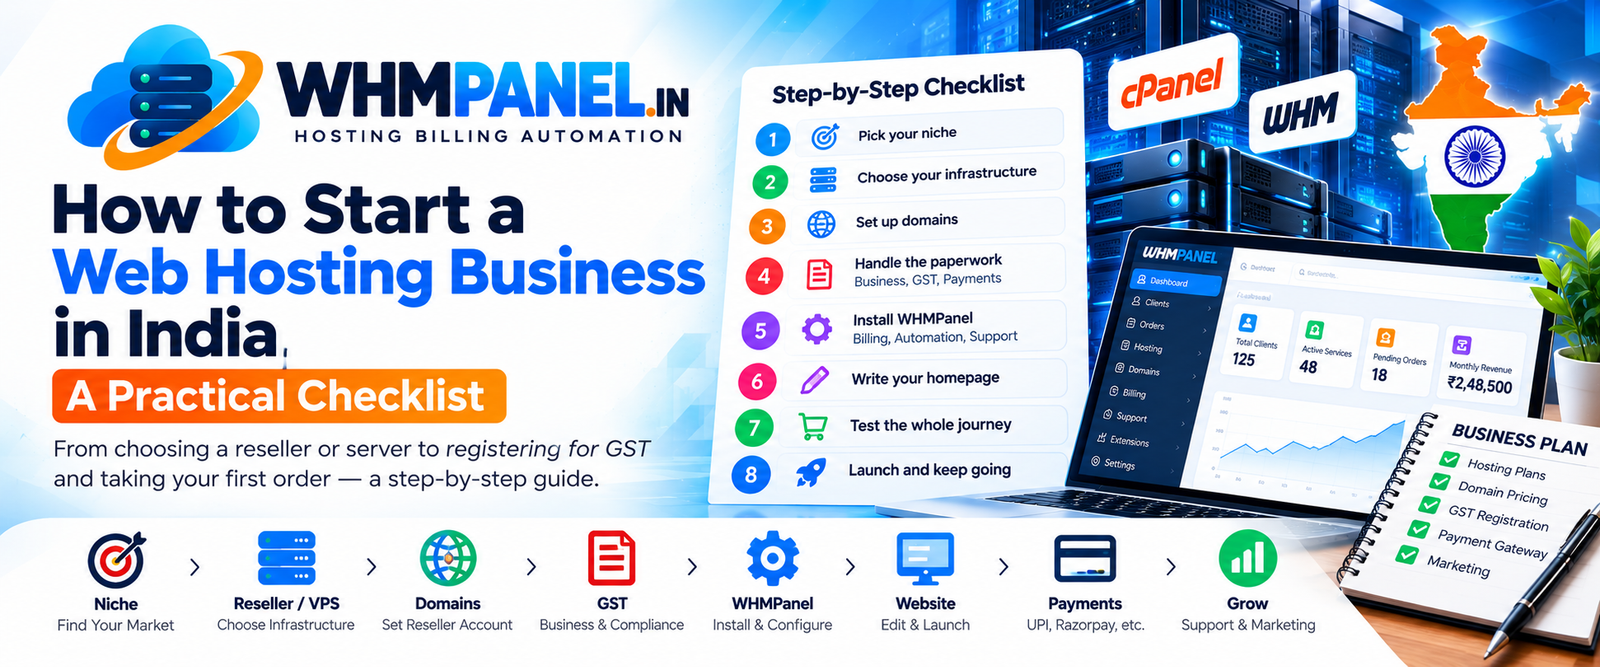
Starting a hosting business is easier than ever: you do not need your own data centre, and you can launch with a reseller account or a single server. What separates a side project from a real business is the operation behind it — billing, automation and support. Here is a practical checklist.
1. Pick your niche
"Cheap hosting for everyone" is a crowded market. You will grow faster with a focus: WordPress sites for small businesses in your city, hosting for schools, for agencies, for Tamil or Marathi content sites, or managed hosting with migration and support included. A clear niche makes your pricing, your homepage and your support easier.
2. Choose your infrastructure
- Reseller hosting — the quickest start. You get a WHM account on someone else's server and create cPanel accounts for your clients.
- VPS or dedicated server with cPanel/WHM — more control and better margins once you have a few dozen clients, but you manage the server (or pay someone to).
Either way, make sure you can create a WHM API token: WHMPanel uses it to create, suspend and remove accounts automatically.
3. Set up domains
Most hosting clients also need a domain. Open a reseller account with a registrar that offers an API — WHMPanel supports Dreamscape, ResellerClub and Namecheap — and decide your selling price per extension. You can import your cost prices and add your margin.
4. Handle the paperwork
- Register your business (proprietorship, LLP or private limited) and open a current account.
- Register for GST when your turnover requires it, or earlier if your business clients want GST invoices. Hosting is generally taxed at 18% — confirm the details with your chartered accountant.
- Sign up with a payment gateway. Razorpay, Cashfree, PayU, Instamojo and PhonePe all need basic KYC and a working website with your terms, privacy policy and refund policy.
5. Install your billing system
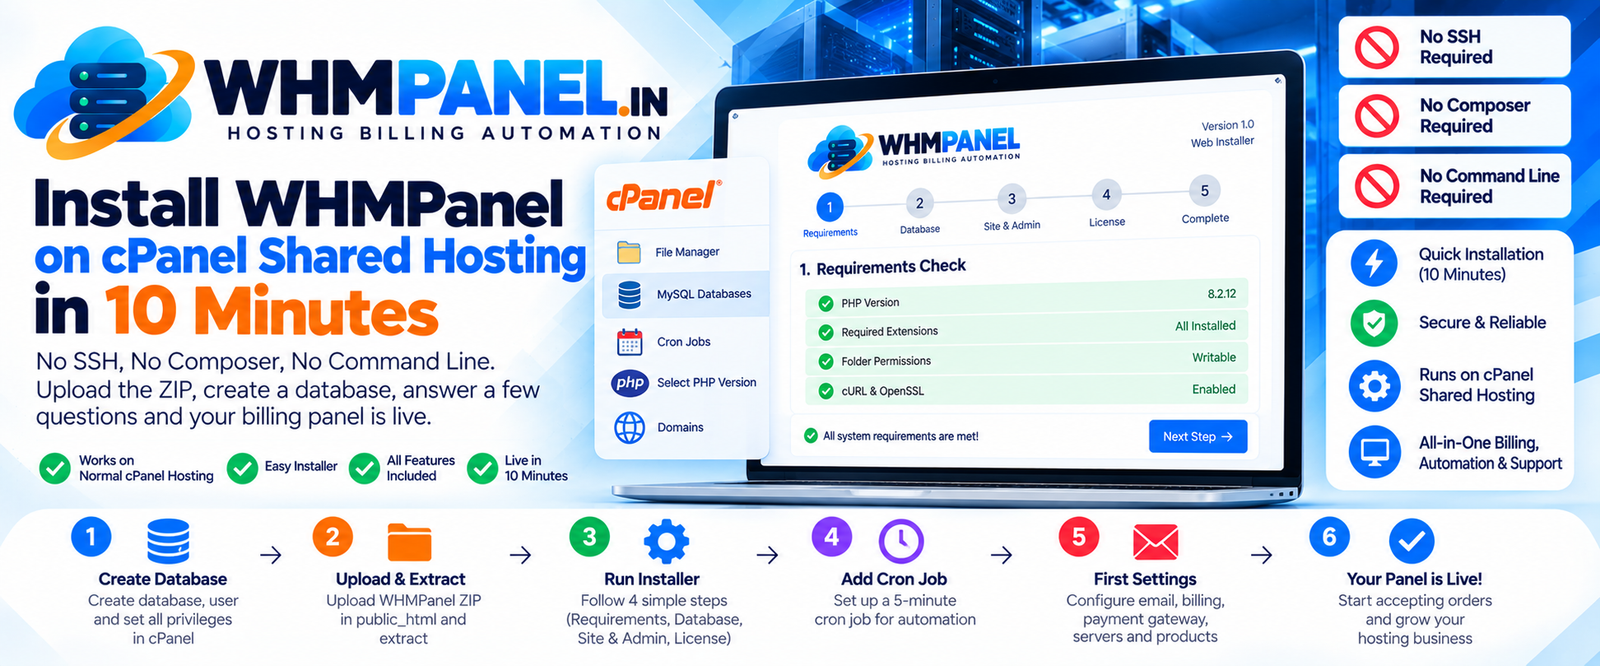
This is where WHMPanel comes in. Upload the zip to your hosting, open the address and follow the installer. Then:
- Add your currency, invoice prefix and GST rate under Billing settings.
- Switch on your payment gateway and paste the webhook URL into its dashboard.
- Add your WHM server and press Test connection.
- Connect your registrar and set domain prices.
- Create your plans and pick the WHM package for each.
- Add the cron job so renewals and suspensions run on time.
6. Write your homepage
Every homepage section in WHMPanel is editable: hero, domain search, plans, features, FAQ and contact. Speak to your niche, show prices clearly and answer the questions people ask before buying — migration, backups, support hours and refunds.
7. Test the whole journey
Before you announce anything, place a real order with a small amount: search a domain, buy a plan, pay, and check that the cPanel account is created and the welcome email arrives. Then open a support ticket as the client and answer it as staff.
8. Launch and keep going
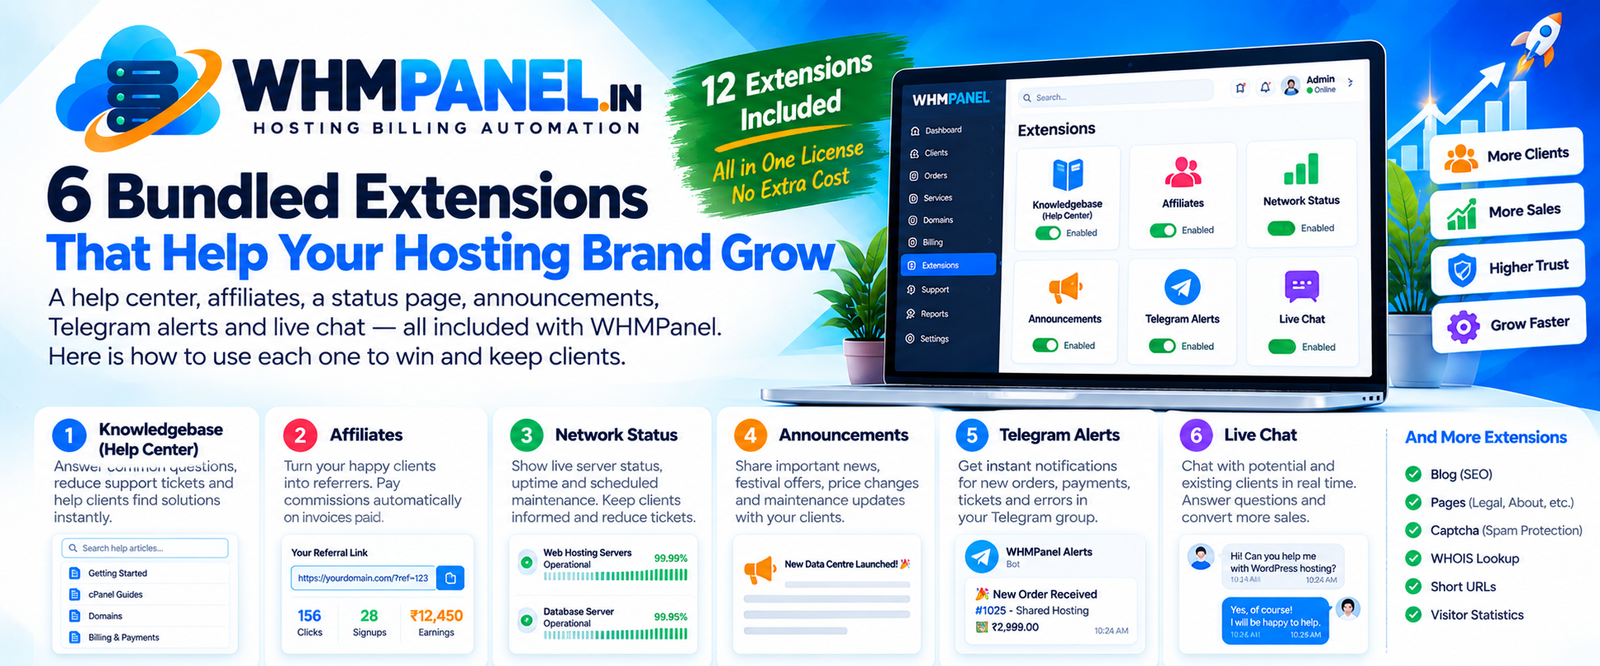
Turn on the affiliate program so happy clients can refer friends, publish a few helpful articles in the help center, and add announcements when you have news. Growth in hosting comes from reliability and good support — the automation takes care of the rest.
0 comments