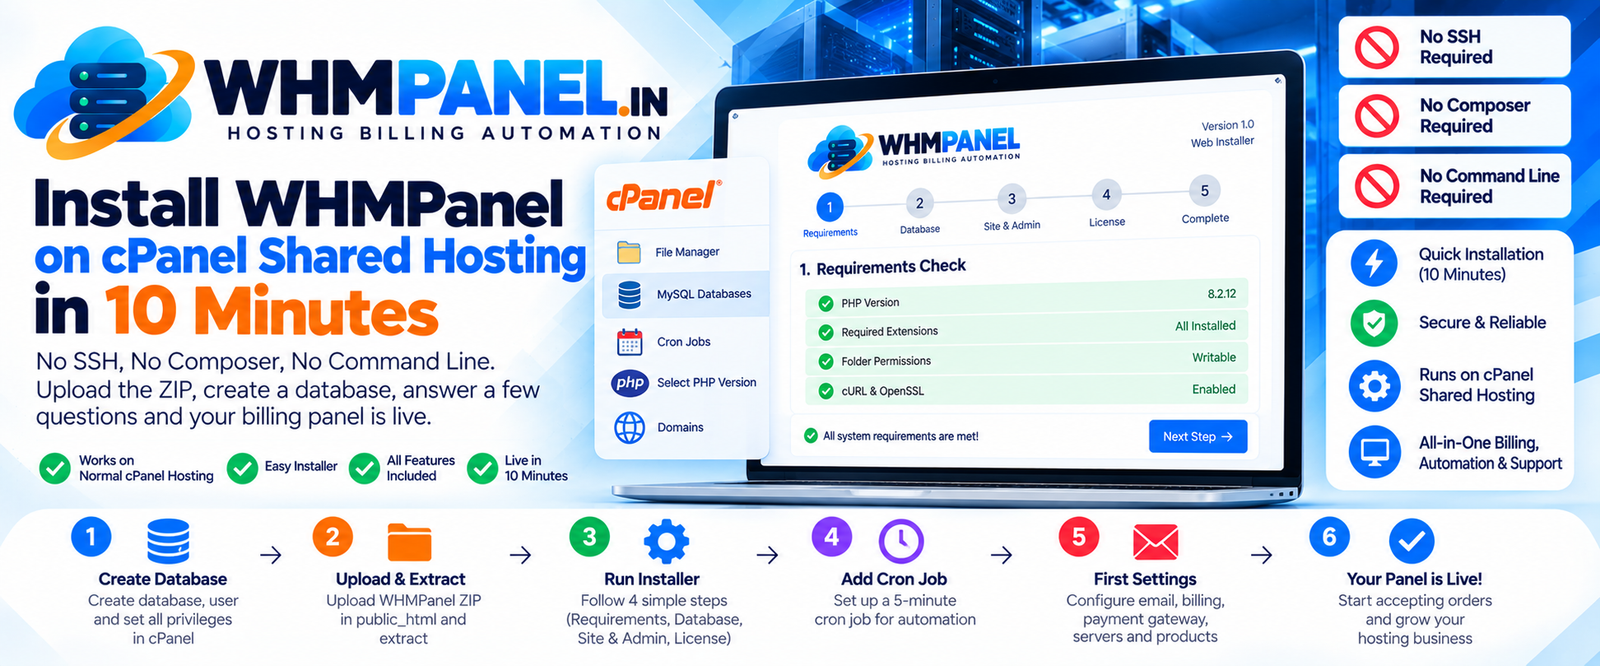
WHMPanel is designed to install on the same kind of hosting you sell: a normal cPanel account. Everything it needs is inside the zip, so you do not need SSH, Composer or Node.js. Here is the whole process.
Before you start
- PHP 8.2 or newer selected for the domain (cPanel › Select PHP Version or MultiPHP Manager).
- PHP extensions: pdo_mysql, curl, openssl, mbstring, fileinfo, xml — and gd and zip if available.
- Your WHMPanel license code and the zip from Downloads in your client area.
1. Create the database
In cPanel, open MySQL Databases. Create a database (for example youruser_billing), create a user with a strong password, and add the user to the database with All privileges. Keep the three names and the password handy.
2. Upload and extract
Open File Manager and go to public_html — or a sub-folder such as public_html/billing if you want the panel at yourdomain.com/billing. Upload the zip, right-click it and choose Extract. You do not need to change the document root: WHMPanel's own .htaccess routes everything correctly and blocks private folders.
Tip: if File Manager hides files starting with a dot, turn on Show hidden files in its settings and check that .htaccess was extracted.
3. Run the installer
Open the address in your browser. The installer starts by itself:
- Requirements — checks PHP and folder permissions. Fix anything shown in red and reload.
- Database — enter the database name, user and password. The connection is tested before you continue.
- Site and admin — site name, address, timezone, currency, your admin account, the extensions to install and an optional sample catalog.
- License — paste your license code and your name.
That is it. Sign in with the admin account you just created.
4. Add the cron job
Renewals, reminders and suspensions run from a scheduled task. In cPanel open Cron Jobs and add, every 5 minutes:
*/5 * * * * cd /home/USER/public_html/billing && php artisan schedule:run >/dev/null 2>&1If your host does not allow command-line PHP, use the web cron URL shown under Automation › Cron status instead. The same page shows when the last run happened, so you can confirm it works.
5. First settings
- Settings › Email setup: enter SMTP details and send a test email.
- Billing settings: currency, invoice prefix and tax.
- Payment gateways: switch on at least one and add its webhook URL.
- Servers and Products: connect WHM and create your plans.
Troubleshooting
- Blank page or error 500 — usually the PHP version. Select 8.2+ and reload. Details are in
storage/logs/laravel.log. - Every page except the homepage shows 404 — the
.htaccessfile is missing or mod_rewrite is off. - "License cannot be verified" — check that outgoing HTTPS is allowed and the code was pasted exactly.
Prefer not to do it yourself? Add Professional installation when you order and our team will set everything up for you.
0 comments